Phones
Seamlessly Switch: Your Essential Guide to Transferring Data from Android to iPhone

Switching from an Android phone to an iPhone can feel like stepping into uncharted waters; it’s a big change, especially when it comes to moving all your essential data. The good news is that with the right mindset and tools, this journey doesn’t have to be a headache. Instead, you can make it as seamless as enjoying your favorite playlist.
To help you along the way, Daniel from About Tech has created an insightful video that breaks down the process for you. Whether you prefer to transfer your data wirelessly or through a wired connection, he’s got you covered. By following his straightforward guidance, you’ll not only move your photos, videos, contacts, messages, and more but also tailor your new iPhone to perfectly fit your style and preferences.
Preparing Your Devices for the Move
Let’s get started by prepping both your Android and iPhone for this transition. Think of this stage as packing your bags before a big trip—it’s crucial for making everything run smoothly. Here are the must-do steps:
– Reset Your iPhone: If you’ve already set up your iPhone, you’ll need to reset it to factory settings. This means all data on the device will be erased, so make sure you back up anything important first. If it’s brand new and still displaying the “Hello” screen, you’re already set to go!
– Check Storage Space: Make sure your iPhone has enough storage for the data you’re about to move. Running out of space can throw a wrench in your plans, so take a moment to confirm this before starting the transfer.
– Update Your Android Device: Ensure your Android device is updated to the latest software version. This little step is essential for compatibility during the transfer; outdated software might cause hiccups.
Choosing the Best Transfer Method
Now it’s time to choose how you want to transfer your data. You have two primary options, and each comes with its pros and cons:
– Wireless Transfer: This method offers convenience and requires no extra cables. Just make sure both your Android and iPhone are hooked up to the same Wi-Fi network. Keep in mind that transferring data this way might take longer, so if you have a lot of files, it might test your patience a bit.
– Wired Transfer: If speed is your top priority, a wired connection is the way to go. Depending on your devices, you might need specific cables, like a USB-C to Lightning. This option tends to be more reliable because it won’t be affected by Wi-Fi signal strength. Think of it as a straight line instead of a detour.
Utilizing Apple’s “Move to iOS” Application
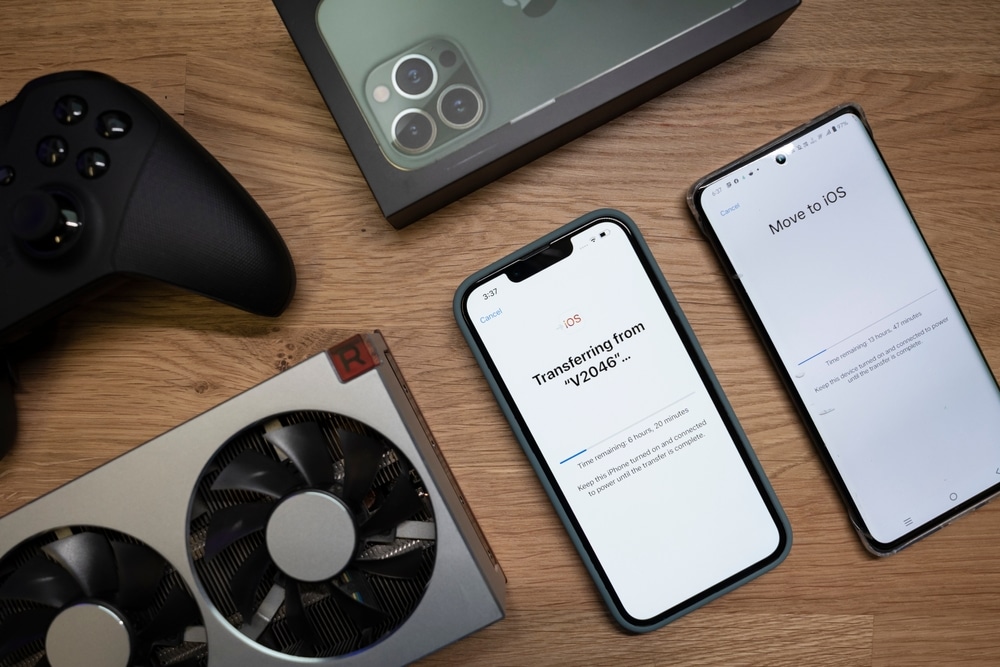
Apple has made the transition even smoother with its “Move to iOS” app, which is available for free on the Google Play Store. It’s designed especially for situations like yours, where you want to move everything from an Android device to an iPhone without breaking a sweat. Here’s how to use it:
– First, download and install the “Move to iOS” app on your Android device from the Google Play Store.
– Open the app and follow the prompts to connect it with your iPhone.
– When setting up your iPhone, choose the “Move Data from Android” option.
– Your iPhone will display a unique code. Enter this code on your Android to create a secure connection.
– Now, select the types of data you want to transfer, such as contacts, messages, photos, and even app data.
– Start the transfer and be prepared to sit back and relax while your data moves over. The time it takes will depend on how much you’ve got to send, so maybe grab a snack while you wait!
Key Considerations During the Data Transfer
To ensure your data transfer goes off without a hitch, keep these important points in mind:
– Battery Levels: Make sure both your Android and iPhone have plenty of juice before you kick off the transfer. Plug them into power sources if needed to avoid any interruptions that could come from a low battery.
– App Compatibility: Not every app you love on Android will make the trip to iPhone; only those available on the App Store can be installed. Some apps will install automatically, while you might need to download others manually.
– Wi-Fi Stability: If you’re taking the wireless route, ensure your Wi-Fi connection is solid. A flimsy or choppy connection can slow things down or, worse, cause the transfer to fail.
Finalizing the iPhone Setup
Congratulations! Once the transfer finishes, you’ll wrap up setting up your iPhone with a few more steps:
– Sign In with Your Apple ID: This step is vital as it opens the door to iCloud services and syncing across your Apple devices. Don’t have an Apple ID yet? No worries—you can create one during setup.
– Set Security Features: Take a moment to set up Face ID or Touch ID for secure access, and don’t forget to establish a passcode to keep your data safe.
– Review Emergency Settings: Check your emergency contact details and medical ID; it’s important information that can help in critical situations.
– Verify Transferred Data: Now, it’s time to play detective! Ensure all your important messages, photos, videos, and apps came over intact. If something went missing, you might need to repeat the transfer or manually move over specific files.
Resolving Common Issues
If you encounter bumps in the road while transferring your data, don’t worry—here are some handy troubleshooting tips:
– Restart Devices: If the transfer gets stuck, a simple reboot of both your Android and iPhone might do the trick.
– Update the “Move to iOS” App: Double-check that the “Move to iOS” app on your Android is the most up-to-date version. Outdated apps can cause compatibility headaches.
– Inspect Cable Functionality: If you’re going for the wired transfer and something isn’t working, look over your cable to be sure it’s securely connected on both ends and functioning properly.
– Seek Assistance: If you’re still having trouble, don’t hesitate to reach out to Apple Support or browse Apple’s official documentation for more tips.
By following this thoughtful guide, you can feel confident as you transition from your Android device to your new iPhone. With some careful planning and the right tools, you’ll ensure that all your essential data comes along for the ride, allowing you to enjoy your new iPhone right from the moment you power it on. Welcome to the world of Apple; we think you’re going to love it here!