Phones
Protect Your Mac: Easy Steps to Safeguard Your Data with Time Machine

Time Machine is that trusty sidekick in macOS, crafting a seamless safety net for your important data. Imagine storing important work documents, sparkly family photos, or your entire digital world in a cozy vault that’s just a few clicks away. That’s what Time Machine delivers: a simple, hands-free way to keep your stuff safe so you can focus on what matters most without the nagging worry of losing everything if something goes wrong. Apple even has a handy video tutorial that walks you through the basic setup, management, and customization of your Time Machine backups — think of it as your own personal crash course in data protection.
The Importance of Regular Backups
In our fast-paced digital life, we often don’t realize just how intertwined we are with our data. Losing those precious family photos from a vacation or important work documents can feel like losing a piece of yourself. That’s where Time Machine becomes your ally. It provides a reliable and automated way to back up your Mac, so you’re never left vulnerable to those dreaded moments of data loss. Time Machine works smartly, capturing snapshots of your data every hour, day, and week — covering everything from applications to system files and your personal settings. And the beauty of it? When your backup drive starts filling up, Time Machine automatically clears out the oldest backups to make room for the new ones. This means you can keep a robust safety net without worrying about running out of space. So whether it’s hardware malfunctions, theft, or that heart-stopping moment of accidental deletion, you can breathe easier knowing your important files are still within reach.
Choosing the Right Backup Drive
To unlock the full potential of Time Machine, you’ll need an external storage device — this could be an external hard drive, a speedy SSD, or even a network-attached storage (NAS) device. But before you head to the store or click that online order button, there are a few things to consider to ensure you make the right choice:
– Capacity: Think of your backup drive like a closet. You want one that’s not just big enough for what you have now, but spacious enough for everything you might collect in the future. Ideally, pick a drive that packs at least double the storage of your Mac’s internal drive. This way, you have room to breathe and to keep multiple backups over time.
– Compatibility: Not all drives are created equal, so it’s crucial to pick one that plays nice with your Mac and is formatted properly for Time Machine. Most modern drives fit the bill just fine, but a quick check never hurts.
– Reliability: Picture this: you’ve just lost a few weeks of work because your backup drive failed. Ouch, right? That’s why it’s essential to invest in a model from a reputable manufacturer that’s known for dependability. A few extra bucks spent here will feel like a solid insurance policy.
– Portability: If you’re the kind of person who jumps from coffee shop to coworking space, definitely consider getting a portable backup drive. You’ll want something lightweight and easy to connect when you’re on the go.
Setting Up Time Machine
Setting your Time Machine is a breeze and could easily be knocked out in less than ten minutes. Just follow these straightforward steps and you’re good to go:
1. Connect Your External Drive: Grab your external storage device and hook it up to your Mac with the proper cable (USB, Thunderbolt, or Ethernet for NAS users). Make sure your drive is powered on and ready to roll.
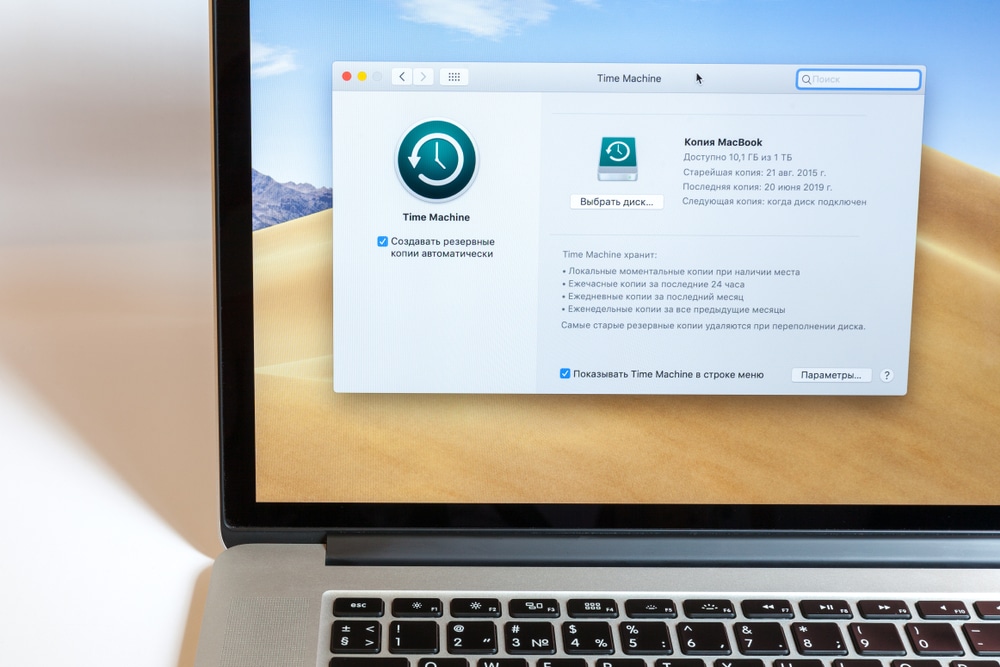
2. Access System Preferences: Open up System Preferences and click on the Time Machine icon — it’s like opening the door to your data sanctuary.
3. Select Your Backup Disk: Hit “Select Backup Disk” and choose your external drive from the list. Want a little extra peace of mind? Tick the box to encrypt your backups for enhanced security.
4. Confirm Your Choice: Click “Use Disk” to finalize your choice. Time Machine will get right to prepping your drive and kick off the first backup of your Mac automatically.
5. Relax: That’s it! Your Mac is now backed up and protected by Time Machine, and it’ll keep that protection rolling in the background whenever the backup drive is connected and your Mac is idle.
Managing and Monitoring Your Backups
Once you’ve got Time Machine humming along, it usually works diligently behind the scenes, quietly safeguarding your data. But sometimes, you may want to check in to ensure everything is running smoothly. Here’s what’s worth knowing:
– Automatic Backups: By default, Time Machine performs hourly backups for the last 24 hours, daily backups for the past month, and weekly backups for older data as space allows. This gives you a reliable safety net with a variety of restoration points to pick from.
– Manual Backups: If you’ve just made significant changes to your files and want to ensure they’re backed up right away, click the Time Machine icon in the menu bar and select “Back Up Now.” It’s just a quick way to add an extra layer of security when you need it.
– Backup Status: Keep an eye on the Time Machine icon in your menu bar for a heads-up on your backup status. While active, it’ll show a progress bar, and when everything is running smoothly, it’ll tell you when the last successful backup was.
– Pausing Backups: Sometimes, you might be in the middle of something resource-draining and need a break. Click the Time Machine icon and select “Pause Backups” to halt the process temporarily. You can always resume it whenever you’re ready.
– Changing Backup Disks: If you’re looking to switch drives or add another, navigate to Time Machine preferences, hit “Select Backup Disk,” and choose your new device.
Customizing Time Machine Settings
While Time Machine is pretty effective right out of the box, tweaking its settings can help tailor it to your needs:
– Excluding Files and Folders: Got some hefty media files or temporary data you’d rather not back up? You can easily exclude specific files or folders by accessing Time Machine preferences, clicking “Options,” and adding them to your exclusion list.
– Adjusting Backup Frequency: By default, Time Machine backs up every hour, but if you think you need a different frequency, you can explore third-party utilities for adjustments. That said, most users find the default timing a perfect balance of safety and resource management.
– Enabling Encryption: If your Mac holds sensitive info, don’t skip the encryption option for your backups. To activate it, just check the “Encrypt backups” box when you select your backup disk.
Best Practices for Effective Backups
To get the most out of Time Machine and keep your data safe, consider these best practices:
– Regularly Check Backup Status: Make a habit of glancing at your Time Machine icon to confirm everything is functioning properly. If you see prolonged gaps between successful backups, it’s time to investigate and figure out what’s going wrong.
– Maintain Sufficient Free Space: Ensure your backup drive has plenty of room for new backups. While Time Machine manages space for you by deleting older backups as needed, it’s smart to keep an eye on capacity so you can retain a bigger history of backups.
– Keep Your Backup Drive Connected: For the best ongoing protection, keep your backup drive linked to your Mac whenever you can. Desktop users should consider leaving it plugged in all the time, while laptop users should connect it during desk time.
– Test Your Backups Periodically: Every now and then, try restoring a few files from your Time Machine backup to test the waters. This little routine gives you peace of mind, knowing your backups work as intended.
– Use Multiple Backup Methods: Though Time Machine is commendable as a primary backup solution, it doesn’t hurt to expand your safety net. Think about using cloud storage or keeping an off-site backup to guard against local catastrophes like theft or fire.
In essence, Time Machine is a sturdy and user-friendly lifebuoy for your Mac, lifting the burden of data protection off your shoulders. By embracing this guidance and implementing smart practices, you’ll ensure your invaluable information stays safe and accessible. Whether you’re new to the Mac world or a seasoned pro, carving out just a bit of time to set up and oversee Time Machine will pay off in spades. So why wait? Dive into those backups today, and relish in the ease that comes from knowing your digital life is well looked after.