Phones
Effortlessly Move Your Memories: A Simple Guide to Transferring Photos from Google Photos to iCloud

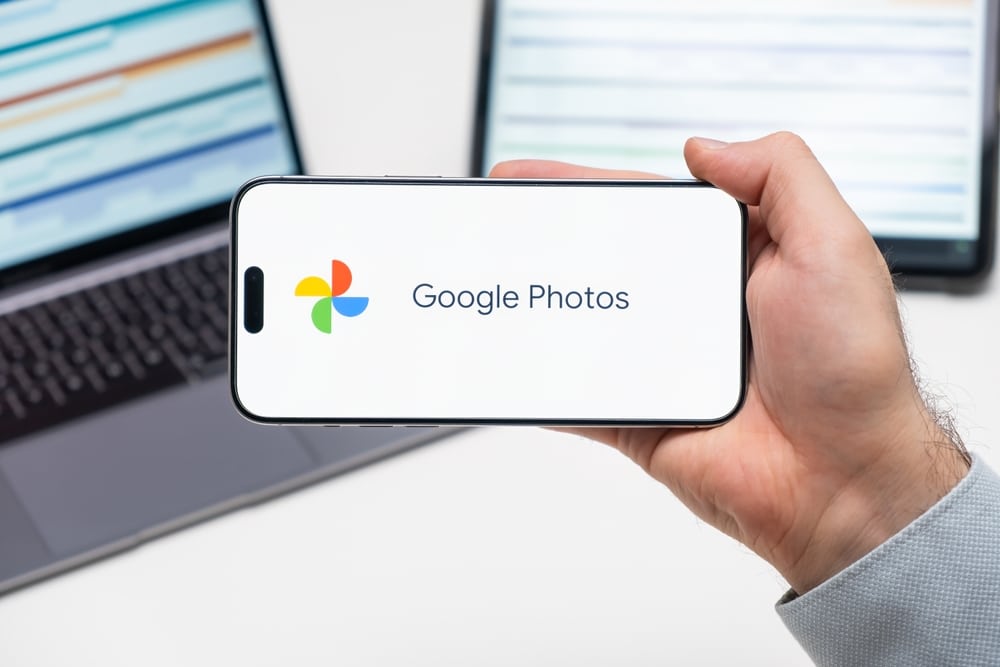
Transferring your beloved photos and videos from Google Photos to iCloud on your iPhone may seem daunting, but it’s a straightforward process that anyone can tackle. Whether you cherish precious family moments, spectacular travel snapshots, or fun candid videos with friends, moving these memories to a new home in Apple’s iCloud is a smart move for safekeeping. In a detailed video tutorial from Daniel About Tech, you’ll find a clear, step-by-step guide that walks you through the entire process, ensuring that your treasured memories shift securely into Apple’s reliable cloud storage.
Getting started is easier than you might think. First things first, grab your iPhone and open a web browser. Log into Google Photos at [photos.google.com](https://photos.google.com) using your Google account details. Before diving into the transfer, take a moment to review your library. Make sure all the photos and videos you want to keep are accounted for. This simple check can save you headaches down the road, helping you avoid the heart-sinking feeling of discovering that an indispensable memory was left behind.
Once you’ve confirmed that all your beloved memories are fluttering in your Google Photos library, it’s time to use Google Takeout, which is Google’s official tool for exporting your data. Head over to [takeout.google.com](https://takeout.google.com) and log in with the same Google account. On this page, you’ll see a long list of Google services. For our purpose, you can deselect everything except Google Photos. This targeted approach makes it easy to collect exactly what you need without unnecessary clutter.
Now, let’s move on to setting the export preferences. You’ll want to choose a few key options:
– Opt to receive your download link via email. It’s a hassle-free way to get your files when they’re ready.
– When it comes to file formats, selecting the .zip option is essential. It bundles everything together neatly, making the download process much more manageable.
– Lastly, decide the file size that suits your needs. Smaller sizes are easier to manage on your device, but larger sizes might be preferable if you have a lot of media to transfer.
After you’ve set up your preferences, hit that export button and kick back. Google will process your request and send you a download link when everything is ready to go.
Now comes the exciting part – downloading your files! Once you receive that email from Google Takeout, tap on the link and download the .zip file right onto your iPhone. Depending on your connection speed and the size of your media, this might take a moment, but patience pays off. Once the download is finished, open the Files app on your iPhone. You’ll find your downloaded .zip file there. Take a moment to unzip that file, which will reveal your collection of beautiful photos and videos, primed for the next step.
With your cherished visuals now unzipped, it’s time to transfer them to iCloud. Open the folder with all your media and select the photos and videos you want to move. Using the sharing feature, save these selected gems directly to your iPhone’s Photos Library. This step is crucial because we want to ensure that your iPhone’s library is synced with iCloud, enabling a seamless transfer to Apple’s cloud.
Before wrapping things up, we need to double-check one important setting. If you haven’t already done so, go to the settings on your iPhone and turn on iCloud Photos. This action is critical for ensuring that your photos and videos are automatically backed up and synchronized with iCloud. Once this feature is activated, it’s a good idea to verify that all selected photos and videos have uploaded successfully to iCloud. This final check guarantees that your memories are securely stored and ready to access whenever you need them.
In conclusion, by following these steps, you can effortlessly migrate your cherished visuals from Google Photos to iCloud. This process maximizes the capabilities of your iPhone, allowing your treasured memories to be securely backed up and easily accessible across various devices. With your photos safely tucked away in iCloud, you can breathe a sigh of relief, knowing that your memories are safeguarded, available whenever you want to revisit those special moments. Now, you can hold on to your memories with confidence, knowing they are preserved for years to come.